Create a custom role
Create a custom role on the Roles tab when the built-in roles don't fit. It Starts with the five work permissions — jobs, contacts, estimates, invoices, schedule. Adjust after creating.
Create a role
- Open Settings → Team & roles, then the Roles tab.
- Press New role on the web, or tap Create a role in the Zaras app.
- Enter its name under Name (Role name in the app).
- Press Create on the web, or tap Create role in the app.
- Switch permissions on or off under Permissions.
- Press Save changes.
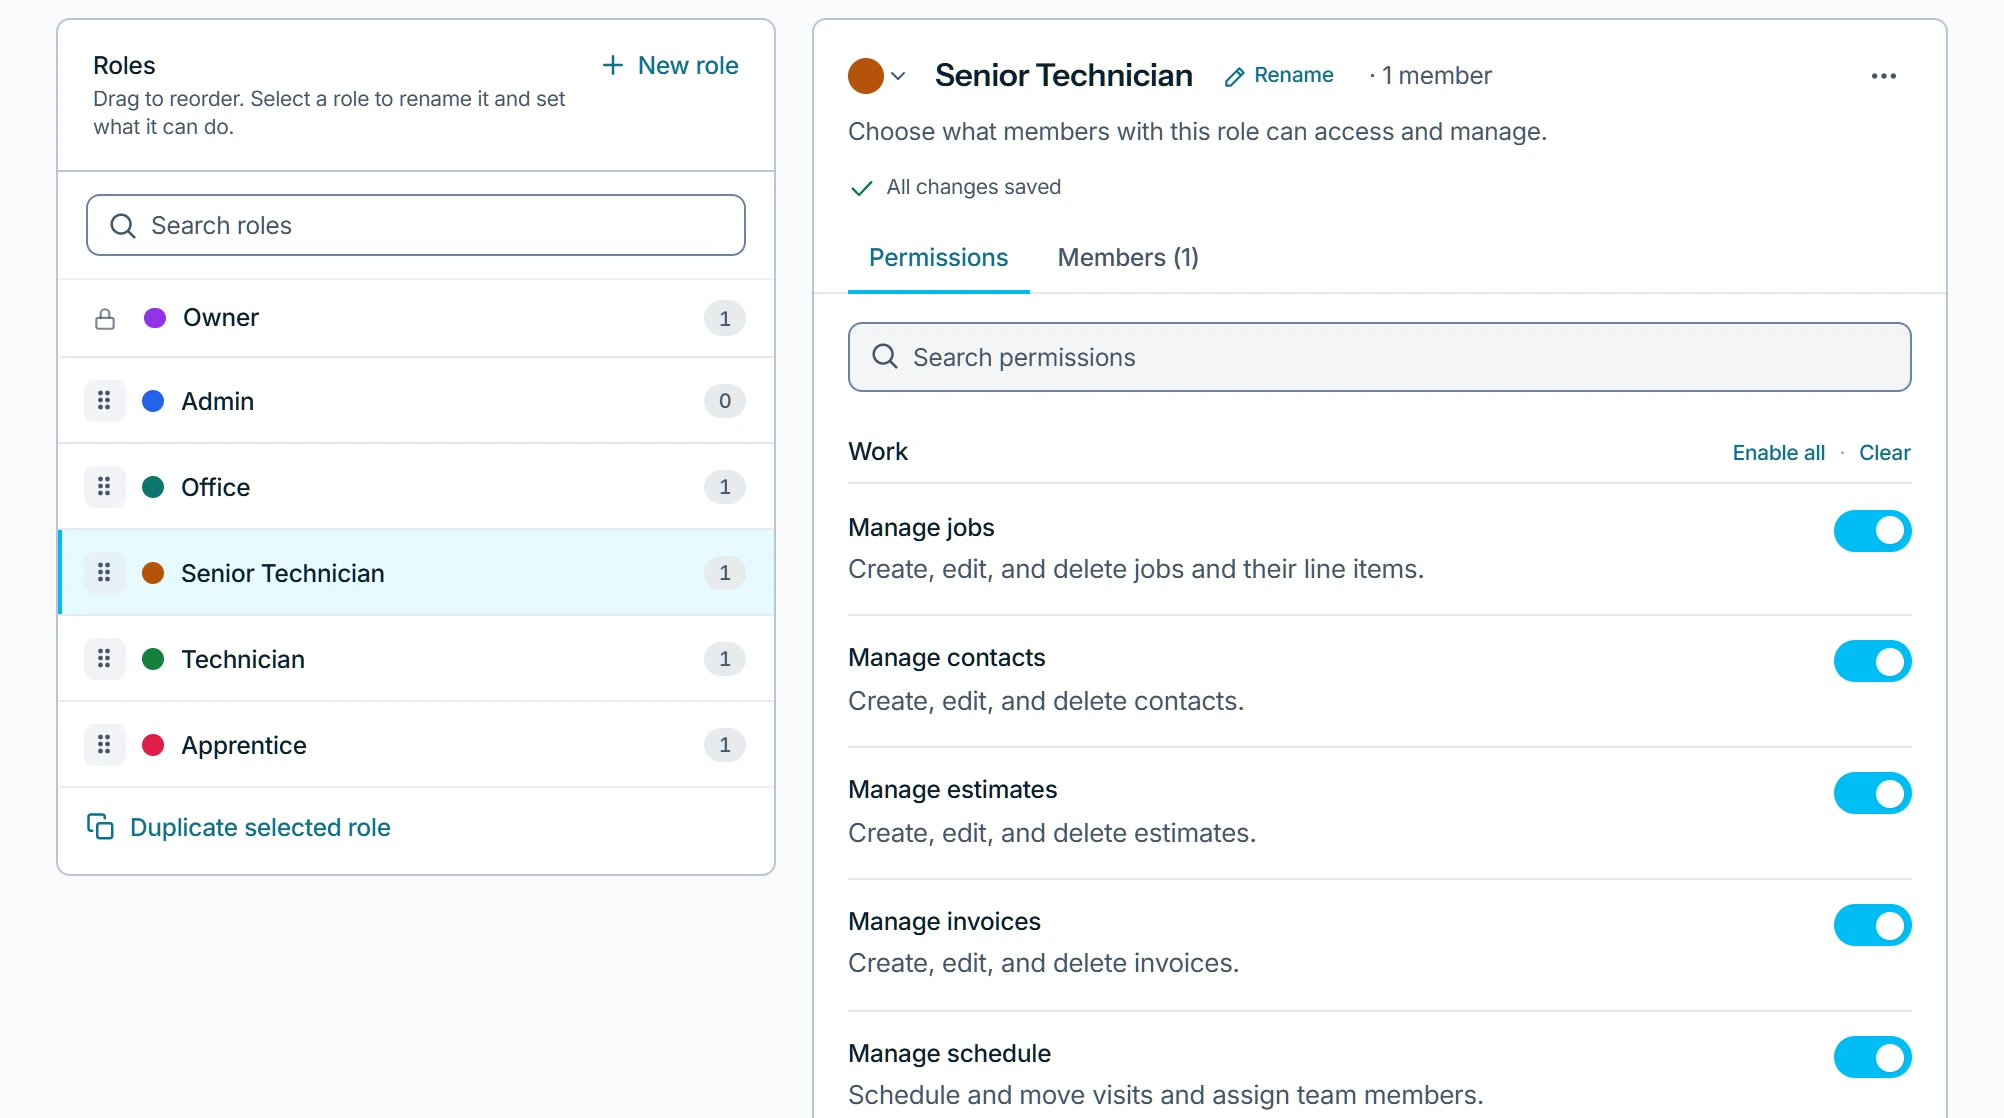
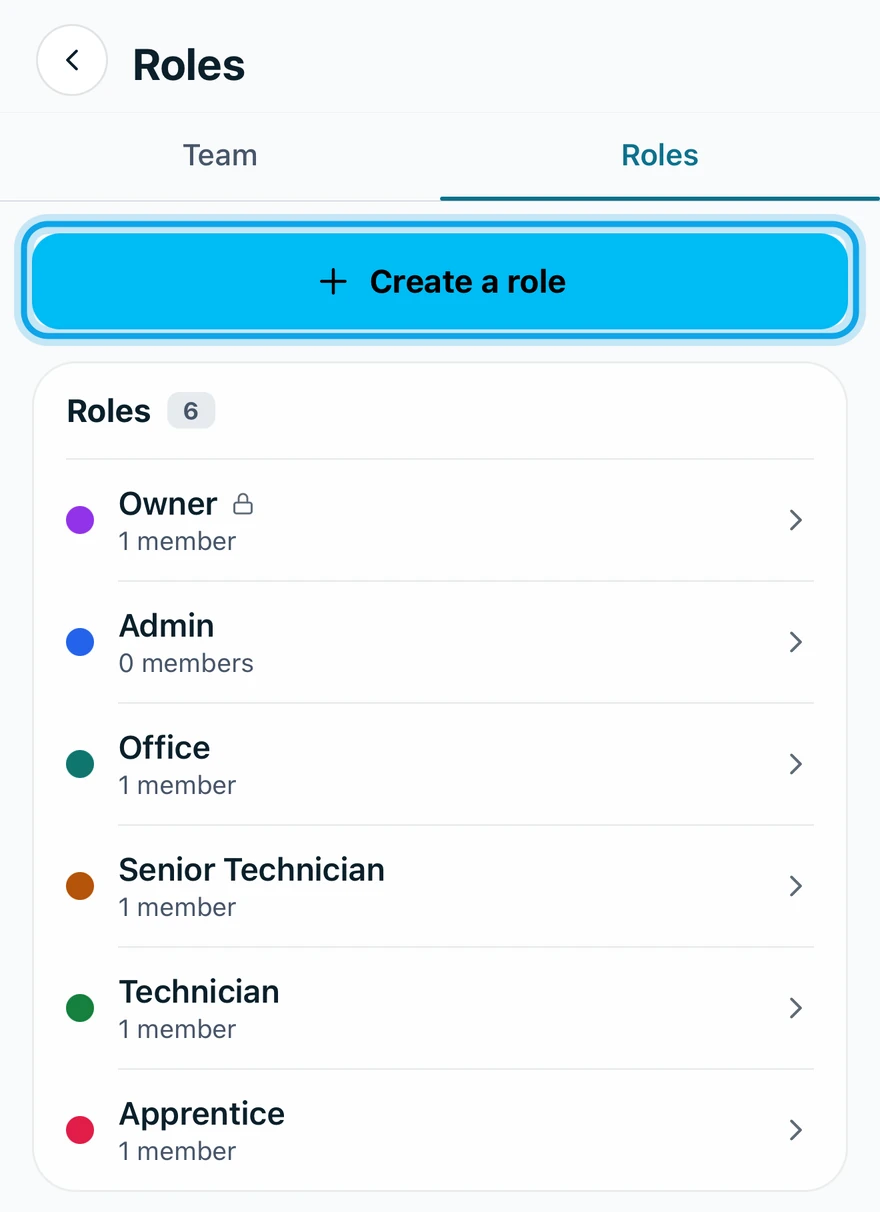
What you see
Role created confirms it, and the role joins the list. Then give it to a member.
Rename or delete a role
Select the role and press Rename. Delete role asks which role its members move to. This can't be undone. Built-in roles can't be deleted.
A switch is locked
The switch says why: You can't edit your own role., The Owner role can't be edited., or You can't grant a capability you don't hold yourself.
Who can do this
It needs Manage roles, held by owners and admins by default. Others ask an owner or admin.