Create an invoice
Press Create invoice on a job, or New Invoice on Invoices to start from scratch. Every invoice starts as a Draft, and nothing reaches the customer until you send it.
Create one from a job or estimate
- On a completed job, press Create invoice. Later ones use Create another invoice.
- On an accepted estimate, press Create invoice, or tap Convert to invoice in the app.
The draft carries the customer and line items, and opens.
Create one from scratch
- Press New Invoice on Invoices, or tap New invoice in the Zaras app.
- Pick the customer under Customer & location, or tap Choose or add customer in the app.
- Under Line items, press Add line item for each charge.
- Set the due date and payment terms.
- Press Save draft on the web, or tap Create invoice in the app.
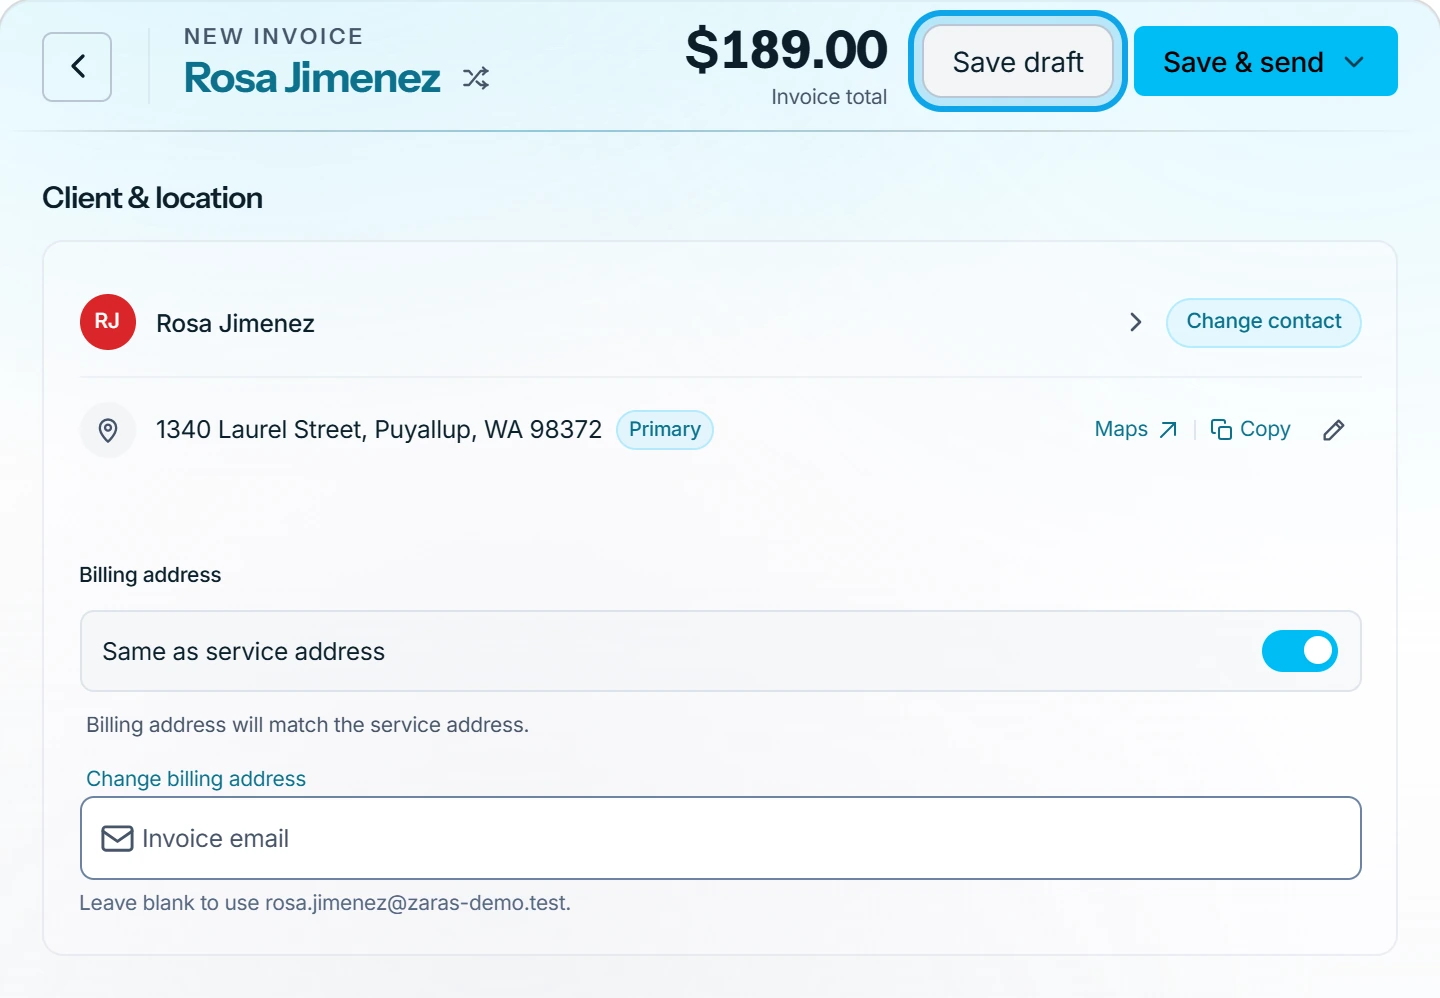
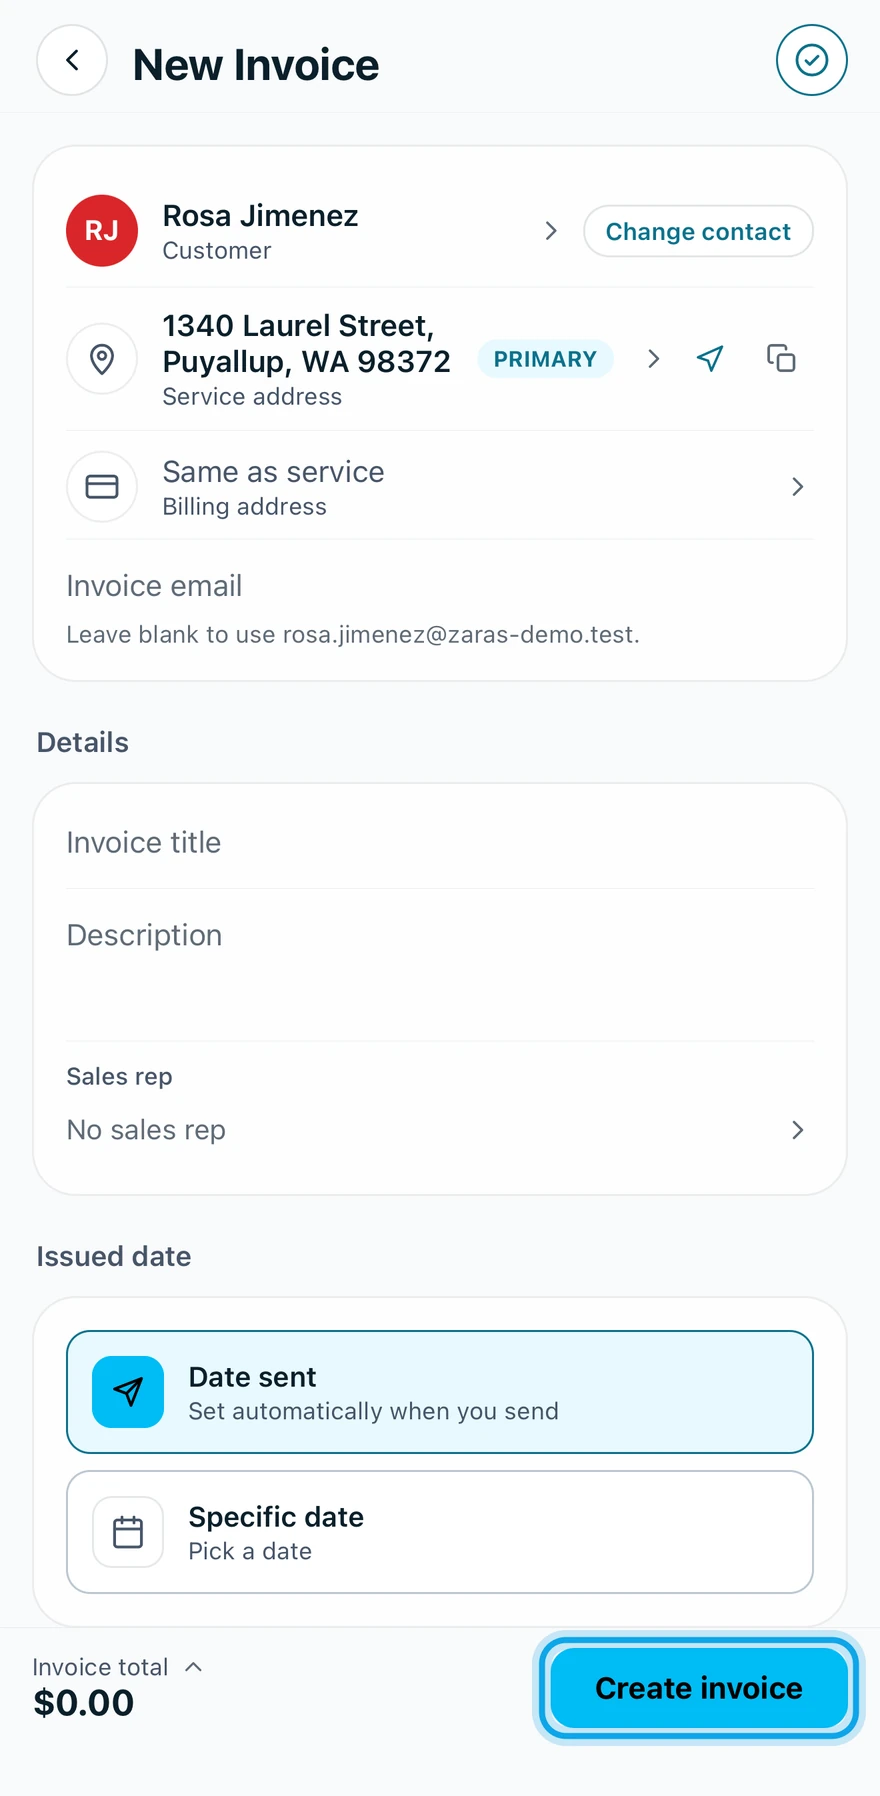
What you see
Invoice created confirms it, and the draft opens. Its number comes from Settings → Numbering. Next, send it.
Link it to a job
- If the Job field reads Not linked to a job, press Link to job.
- Pick the job and confirm with Link job.
Unlink reverses it.
Who can do this
Invoices need Manage invoices. Owners, admins, office and technicians hold it by default. Others ask an owner or admin under Settings → Team & roles → Roles.