Change the client portal settings
Choose what every customer estimate and invoice page shows on Client portal in Settings. A saved change reaches every link already sent, for your whole team.
Change the portal settings
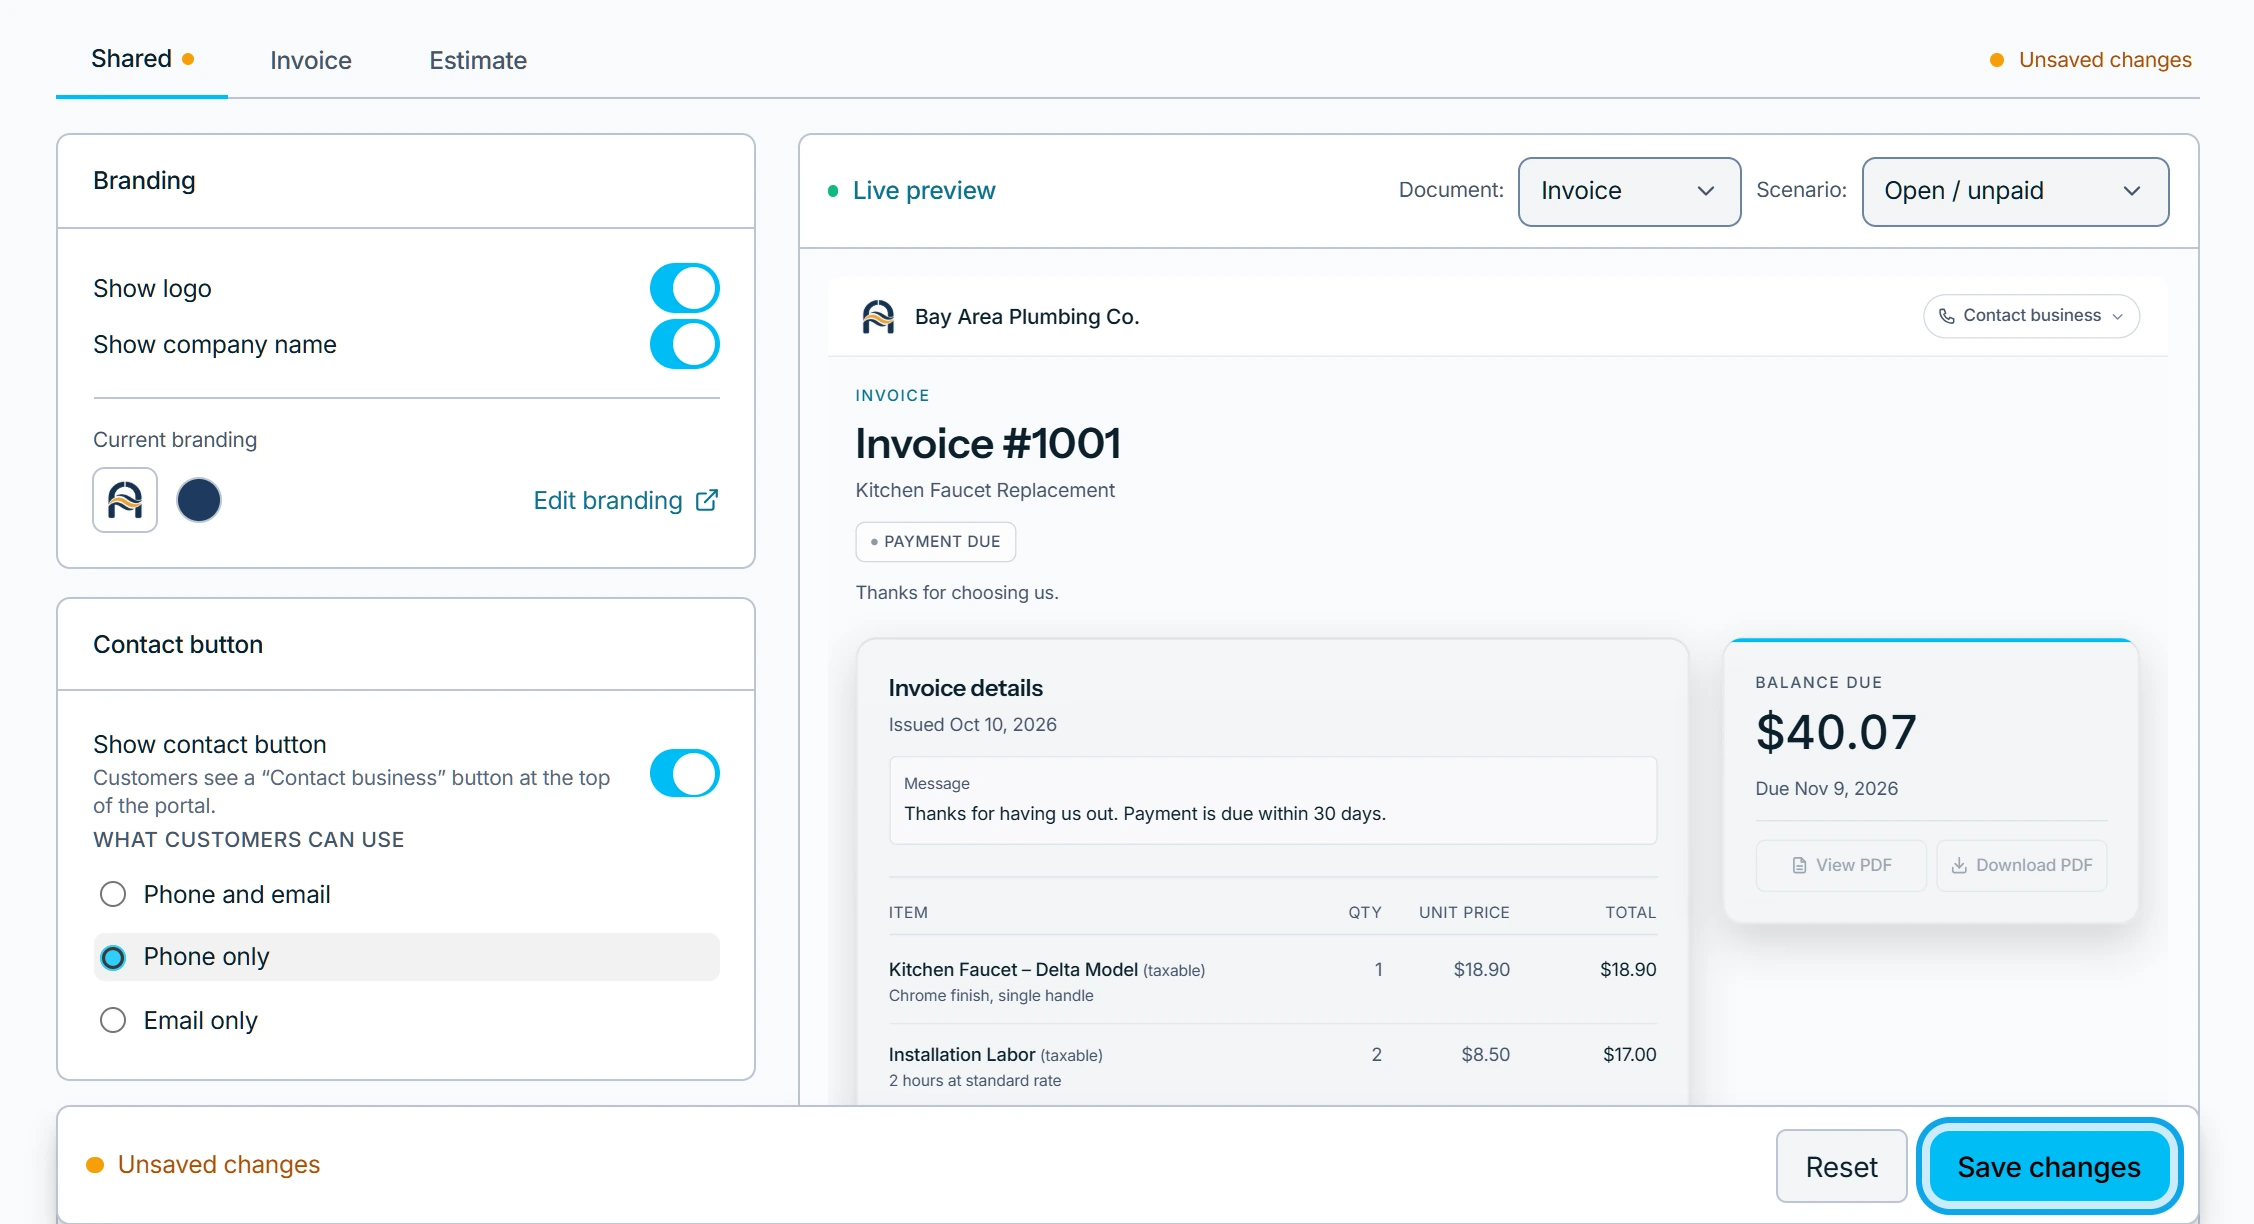
- Open Settings → Client portal.
- On the Shared tab, choose Show logo and Show company name.
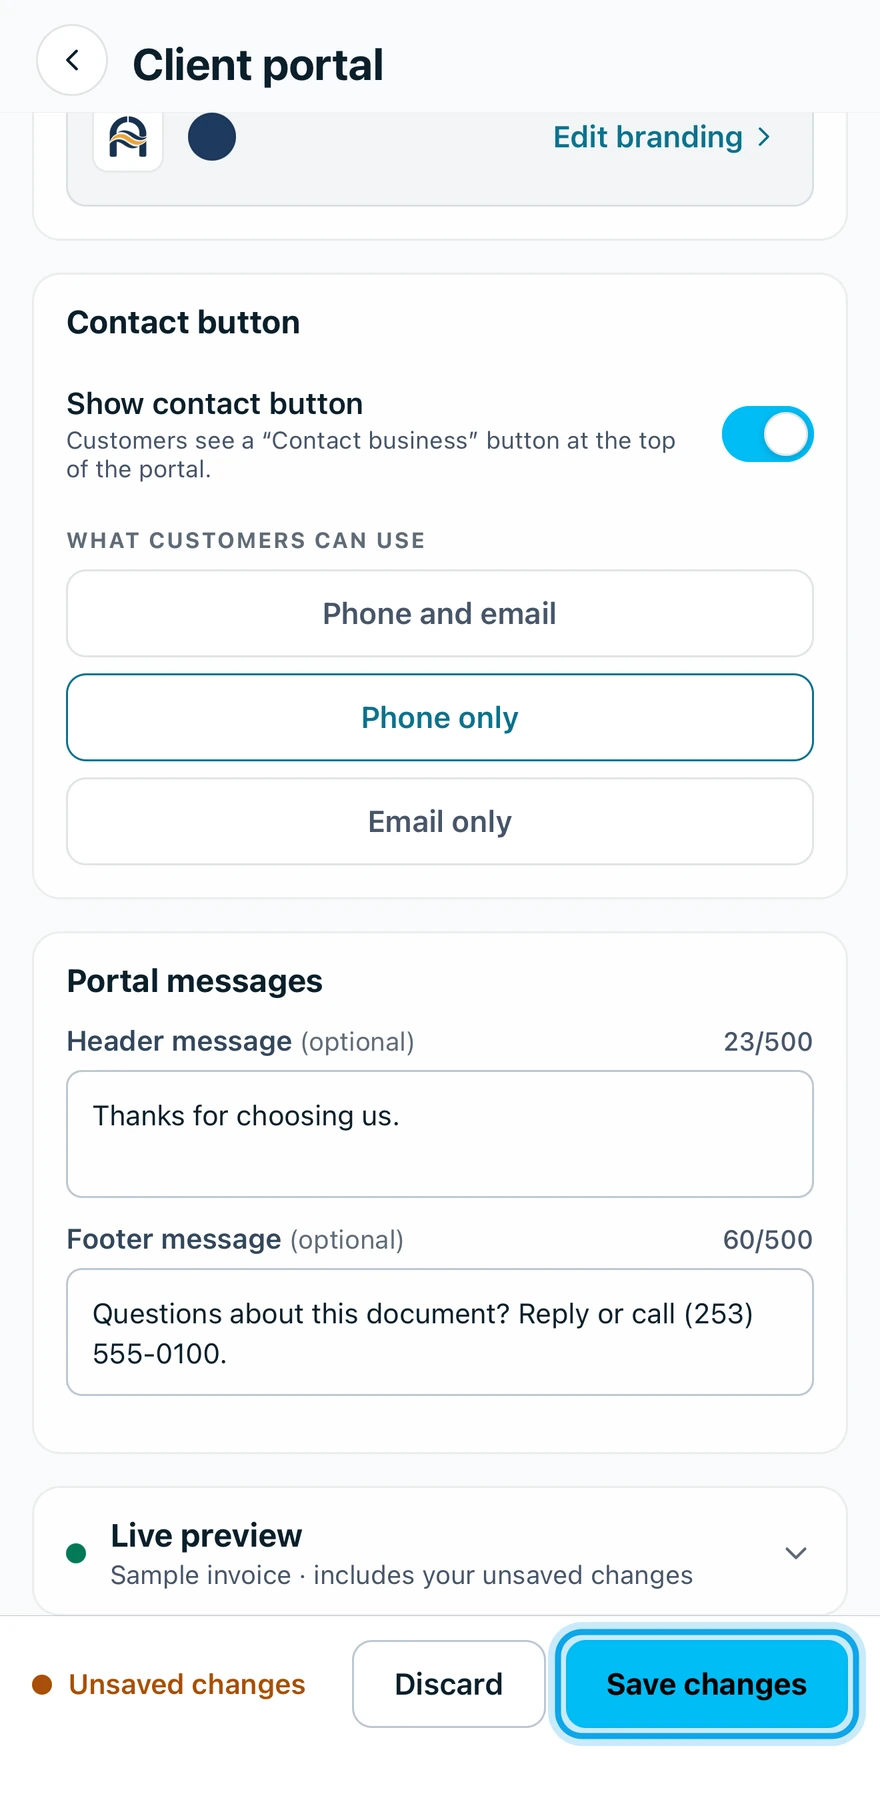
- Turn on Show contact button and pick Phone and email, Phone only or Email only.
- Write a Header message or Footer message under Portal messages.
- On the Invoice or Estimate tab, switch sections under Section visibility.
- Press Save changes in the bar at the bottom.
The sections are Customer message, Line item details, Additional information, Terms & conditions and PDF actions. With Line item details off: When off, only the total is shown.
What you see
On the web the status reads No unsaved changes. In the app the save bar goes. These settings apply to every shared invoice and estimate link, for everyone on your team, and take effect immediately.
On the web, Show preview opens the Live preview to check it first.
It says Not authorized
In the app, Only members with permission to manage general settings can view client portal settings. Ask an owner or admin.
Who can do this
It needs Manage business settings, which owners and admins hold by default. Anyone else asks an owner or admin.