Turn an accepted estimate into a job
Press Create job on the accepted estimate on the web, or tap Convert to job in the Zaras app. The job gets the customer, address and line items, including the add-ons they chose.
Create the job
- Open the accepted estimate.
- Press Create job at the top on the web, or tap Convert to job in the app.
- In the app, confirm in Convert to job?.
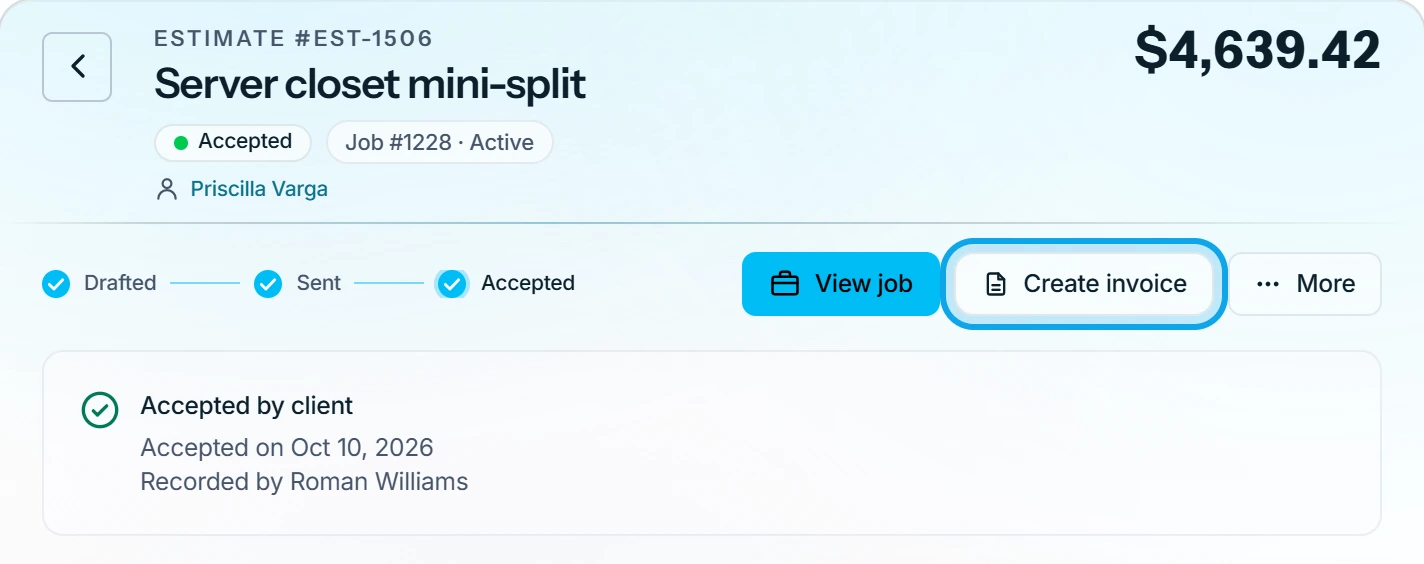
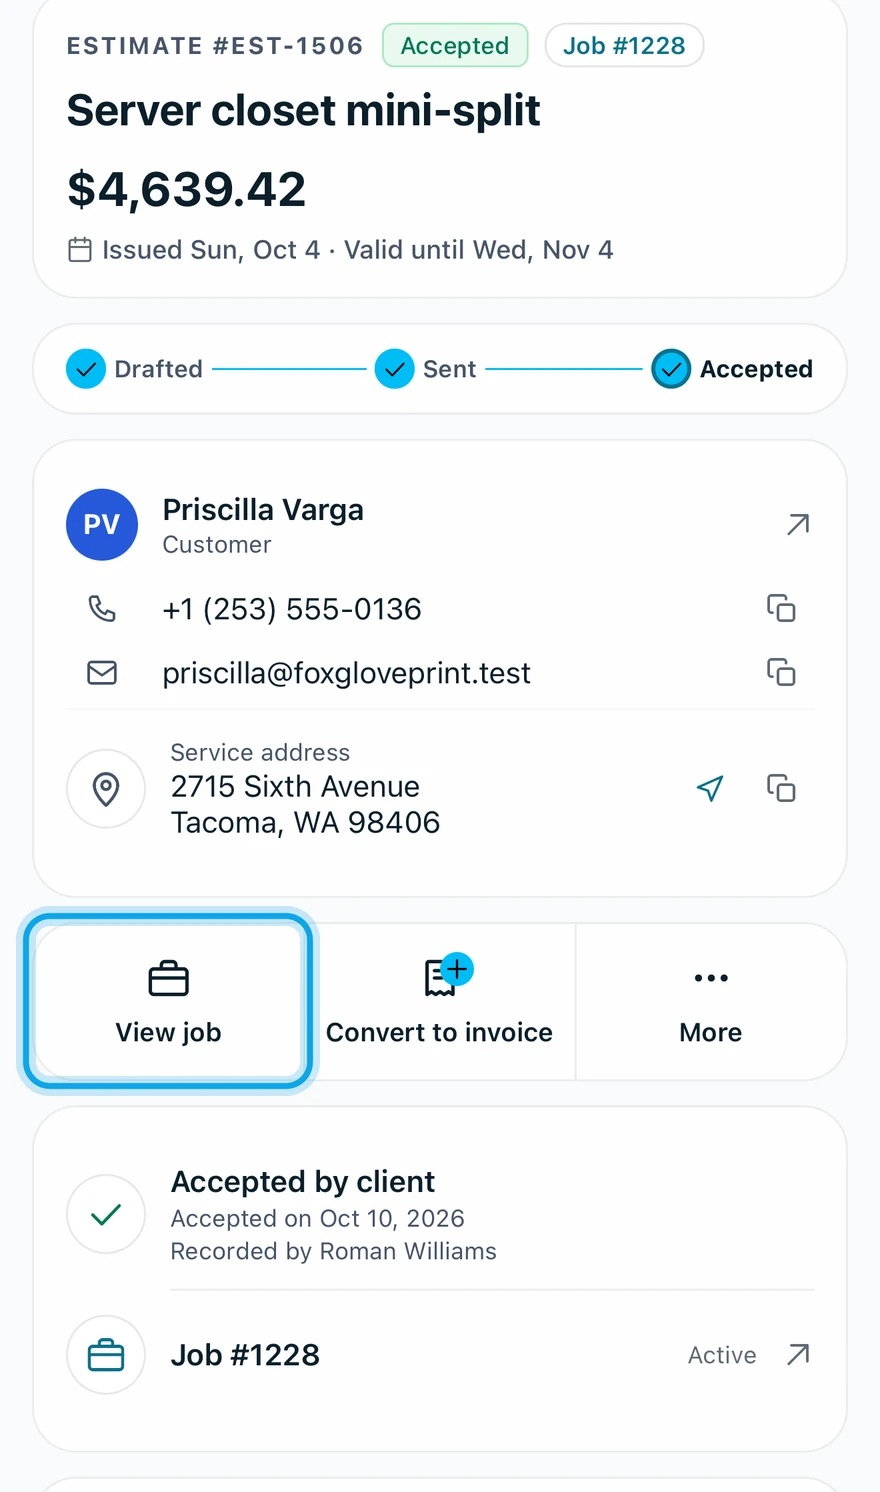
What you see
The new job opens, and the estimate then offers View job. Add-ons the customer didn't choose stay off the job, listed under Declined add-ons.
If the estimate had a visit booked that has not started, the job keeps it as its first visit, with the same technicians, and the customer is not emailed about it. Otherwise, schedule the work on the job: Add a visit to a job.
Invoice it, or link a job
- For a draft invoice, press Create invoice, or tap Convert to invoice in the app.
- To attach a job that exists, press the three-dot button, then Link to job. In the app, tap Link job.
Until one of these, the estimate reads Accepted but no job or invoice created yet.
Who can do this
Create job needs Manage estimates and Manage jobs. Create invoice also needs Manage invoices. Owners, admins, office and technicians hold all three by default.