Set the due date and payment terms
Pick the Issued date and Payment terms while the invoice is a draft. Together they set the due date. Both lock once the invoice is sent.
Set the terms
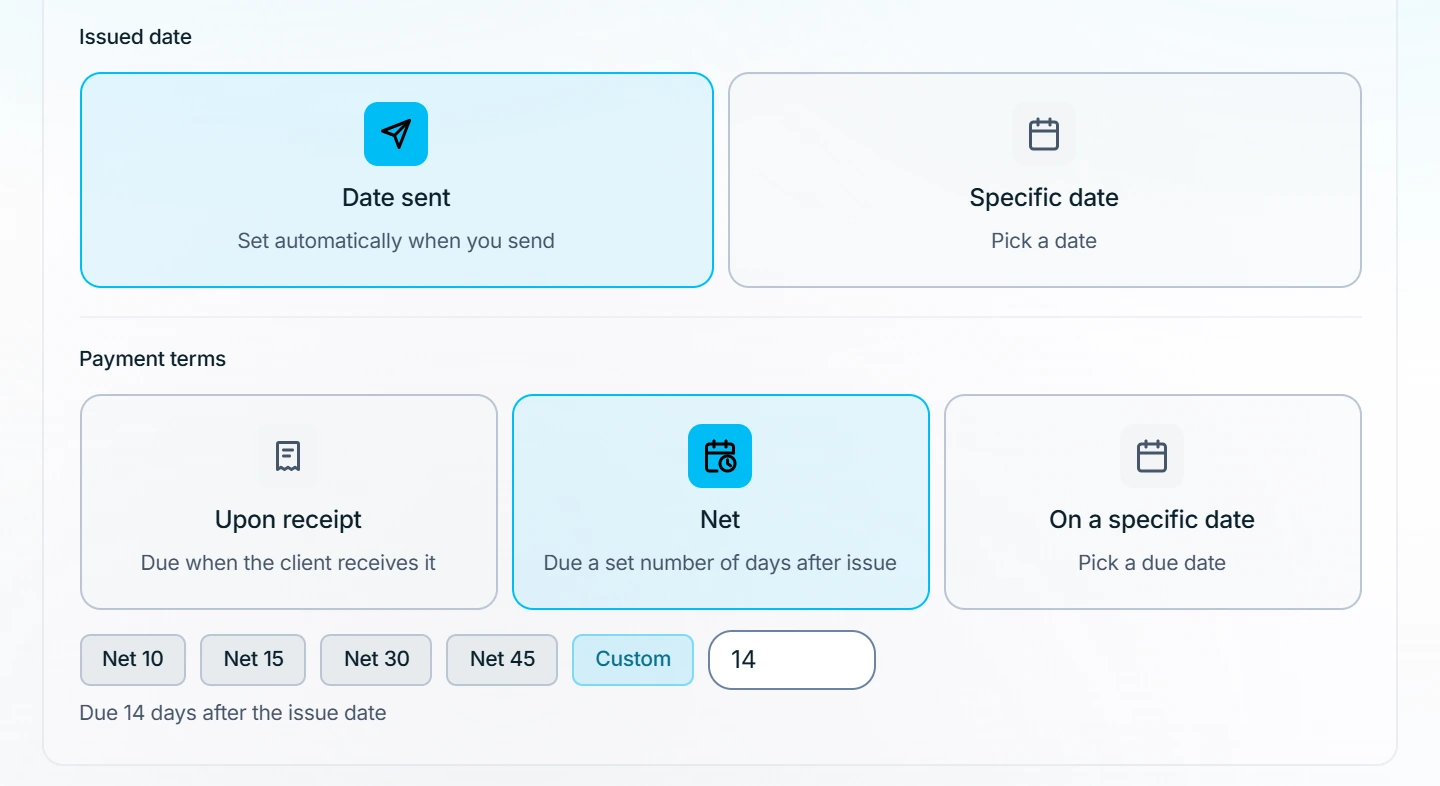
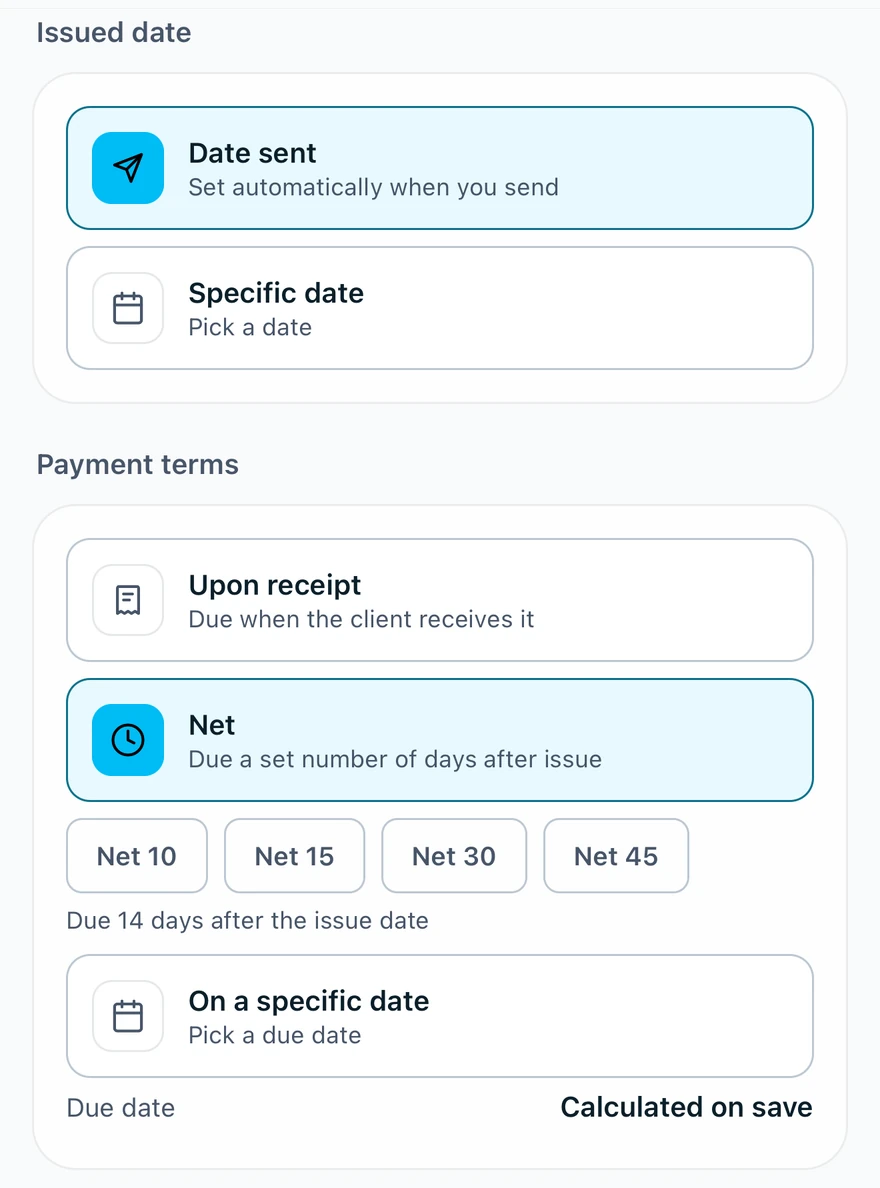
- On a new invoice, find Issued date and Payment terms.
- For the Issued date, keep Date sent or pick a Specific date.
- Under Payment terms, choose Upon receipt, Net or On a specific date.
- For Net, pick a preset, or Custom for a number of days.
- Press Save draft on the web, or tap Create invoice in the Zaras app.
What you see
The invoice shows its due date, marked planned until you send it. Date sent fills in on the day you send. The due date can't come before the issued date.
The default terms come from Settings → Payment Terms: set default payment terms.
The invoice is already sent
Terms and the issue date can't change any more. If no payment is recorded, void it and send a new invoice.
Who can do this
Terms need Manage invoices. Owners, admins, office and technicians hold it by default. Others ask an owner or admin under Settings → Team & roles → Roles.