Create a job from scratch
Press New job on the web Jobs page, or tap New job in the Zaras app. A scheduled job with Notify customer ticked emails the customer a confirmation.
Create a job
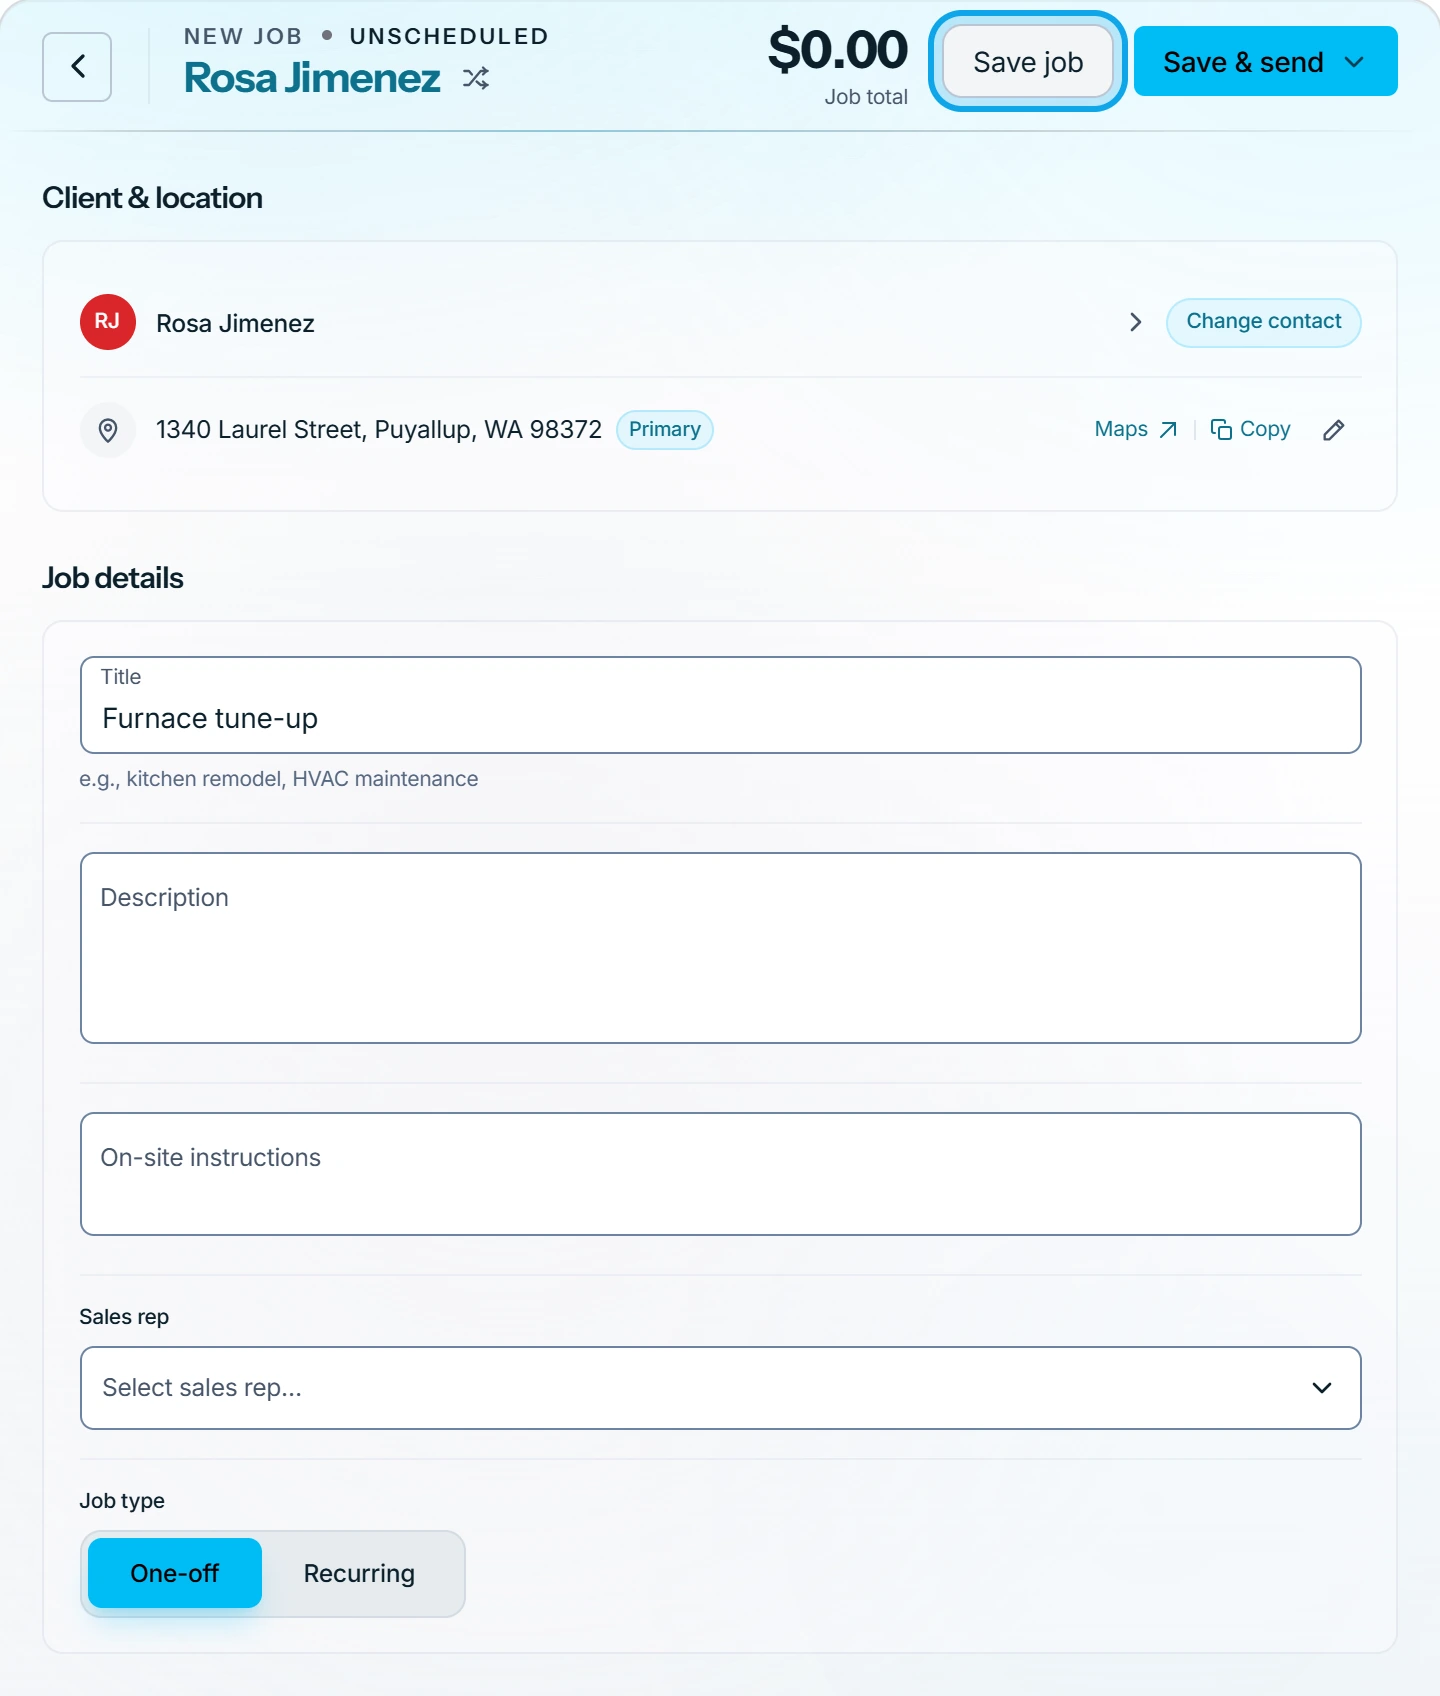
- Press New job on Jobs, or tap New job on the Work tab.
- Pick the customer: Customer & location on the web, Choose or add customer in the app.
- Pick the address: Select address on the web, Add service address in the app.
- Type a Title that says what the work is.
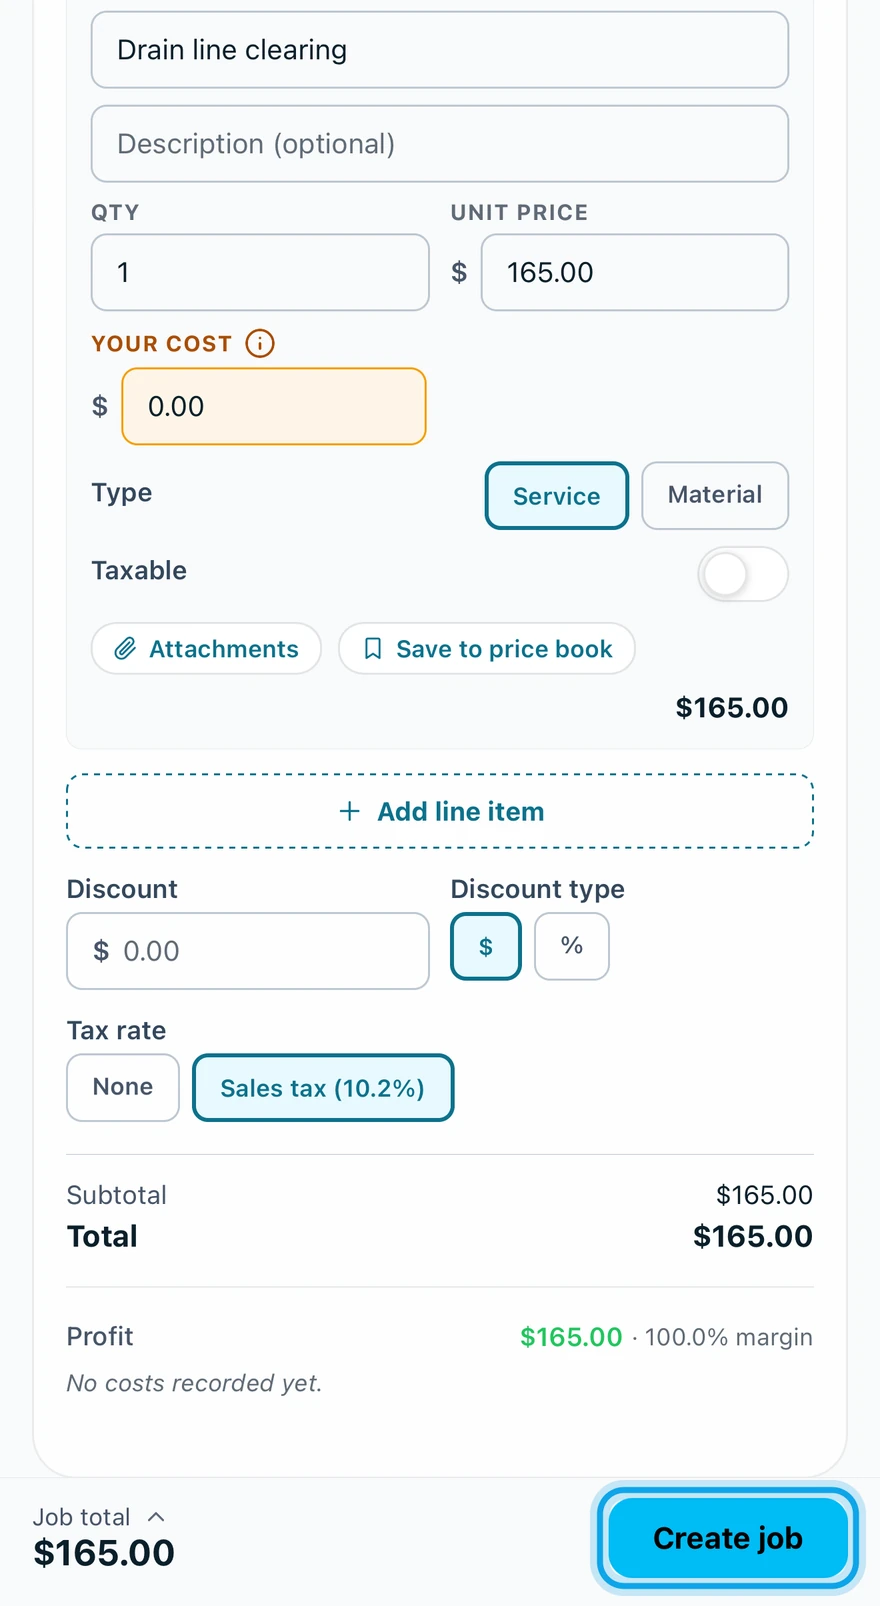
- Under Line items, press Add line item, or pull from your Price book.
- Under Schedule (Scheduling in the app), choose Scheduled or Schedule later.
- Under Assigned technicians, pick who is going.
- Press Save job on the web, or tap Create job in the app.
What you see
Job created confirms it, and the job opens as Active. Its line items add up to the Job total, which becomes the invoice amount later.
On the web, Save & send saves the job and opens its confirmation email.
Notes for each reader
- Customer message shows on the customer's confirmation.
- On-site instructions hold gate codes and parking.
- Internal notes are Only visible to your team.
Save job is greyed out
It stays off until you pick a customer.
Who can do this
Creating jobs needs Manage jobs. Owners, admins, office and technicians hold it by default. Others ask an owner or admin under Settings → Team & roles → Roles.